Saturday, 18 October 2014
Shipwrights of the North Sea: Review
OVERVIEW
Shipwrights of the North Sea is the latest board game by the New Zealand designer Shem Phillips. Shem ran an fantastic Kickstarter campaign and after some understandable delays Shipwrights is now arriving to backers in large quantities.
In Shipwrights players are Viking tribes vying to build the most imposing fleet of Ships in the North Sea. You will be not only competing to have the most efficient ship building engine but directly attacking your opponents.
Shipwrights is for 2-5 Players and plays in 50-70 minutes.
COMPONENTS
Shipwrights comes in a box a bit smaller than your standard Ticket to Ride box, made with a card that seems to be slightly thicker and rounder than your average board game box material.
The only other game I have seen with this box construction is Shems previous game Plethora. I wouldn't mention this at all except for the fact that the box is slightly harder to open compared with your average board game box but this is a minor quibble.
Components wise Shipwrights comes with a large deck of cards, two booklets, an assortment of wooden resources and viking meeples, five player boards and reference boards, a start player marker and a some victory point chits.
All components are of good quality. The boards are a nice thick cardstock and the actual cards themselves are decent if not exceptional. The resources and viking meeples are quite small but functional and well made.
Some of my resources were stuck together but popped apart easily without leaving a mark indicating they may have not been completely dried before being packed.
The rules are simple and easy to read and the art booklet has a fun guide to pronunciation that our group found ourselves using on our first game.
Artwork is exceptional across all components and really takes this game up a notch.
GAMEPLAY
The main mechanisms of Shipwrights revolves around three card drafts every round and then playing those cards to improve your ship building engine.
The different types of cards are:
-Ships to build.
-Craftsmen whose specific skills are required to build certain ships
-Villagers who provide a short term benefit for you or "take that" for your opponents
-Tools that will make building a ship easier.
-Buildings that usually provide a victory point bonus.
This is where the majority of the interesting decisions are. Sometimes you will immediately recognize a card that fits your strategy but often you will agonize over multiple cards, especially when you know that if you don't choose an attacking villager it may be used against you by your opponent.
Players then can choose to play the three cards they have drafted, buy goods with workers and gold they already have or finish building ships using the resources, tools and craftsmen then have acquired. Certain types of cards are limited, you can only have one tool for example so this is a factor that must be taken into account.
Timing is important to these decisions too because at the end of the round your unused workers will produce gold and the workers themselves will slowly replenish. So if you exhaust your workers on a big purchase too quickly you can be stuck for multiple rounds slowly building back your workers and gold.
The ships you choose to build also provide you with interesting choices, some ships will provide little or no victory points but boost your engine. Other ships will be worth many victory points but actually reduce your ability to store resources or recruit workers.
THOUGHTS
If it isn't already apparent I want to say right now that I love this game. I have followed Shems design career from Linwood to Plethora and now to Shipwrights and I can say without reservation that Shem Phillips is a designer that has consistently stepped up his game and in my opinions is now on par with any of the "big boys" you hear about these days.
Shipwrights really takes it to the next level. Plethora is a fine game but suffers from more downtime and AP than it really should for a game of its type and felt somewhat unpolished. Shipwrights is a deeper game that feels faster and more polished. Having 3 drafts going on at the table at once reduces the downtime and once cards have been drafted the turns go very quickly.
There is a level of engine building in Shipwrights that isn't readily apparent from the outside but adds immensely to the game. It isn't about building the most ships, its about building the right ships and the right buildings at the right time.
Rating: 8 out of 10
If you didn't get this game from the Kickstarter campaign, I highly recommend you go to Garphill Games and order it. It is very reasonably priced.
Wednesday, 15 October 2014
Monday, 1 September 2014
Roundup: Boardgames by the bay
Hamilton is not exactly board-gaming central but what we do have is Boardgames by the Bay, a great little weekend convention by the fine folks at Seriously Board. While not Gencon by any stretch of the imagination you can still go and play games with people new and old in a great setting.
I had a great game of Manhattan Project with celebrity board game designer Martin Wallace, got to see some prototypes in action and met many great people. It was good to see Manifest, the SchilMil game in its final incarnation too.
Seriously Board give away so many games that I don't know how they turn a profit so I always make sure to buy a game from them.
This may be the last year for BGBTB, but there is still one more in November in Auckland so check them out!
Wednesday, 23 July 2014
Province "Unboxing"
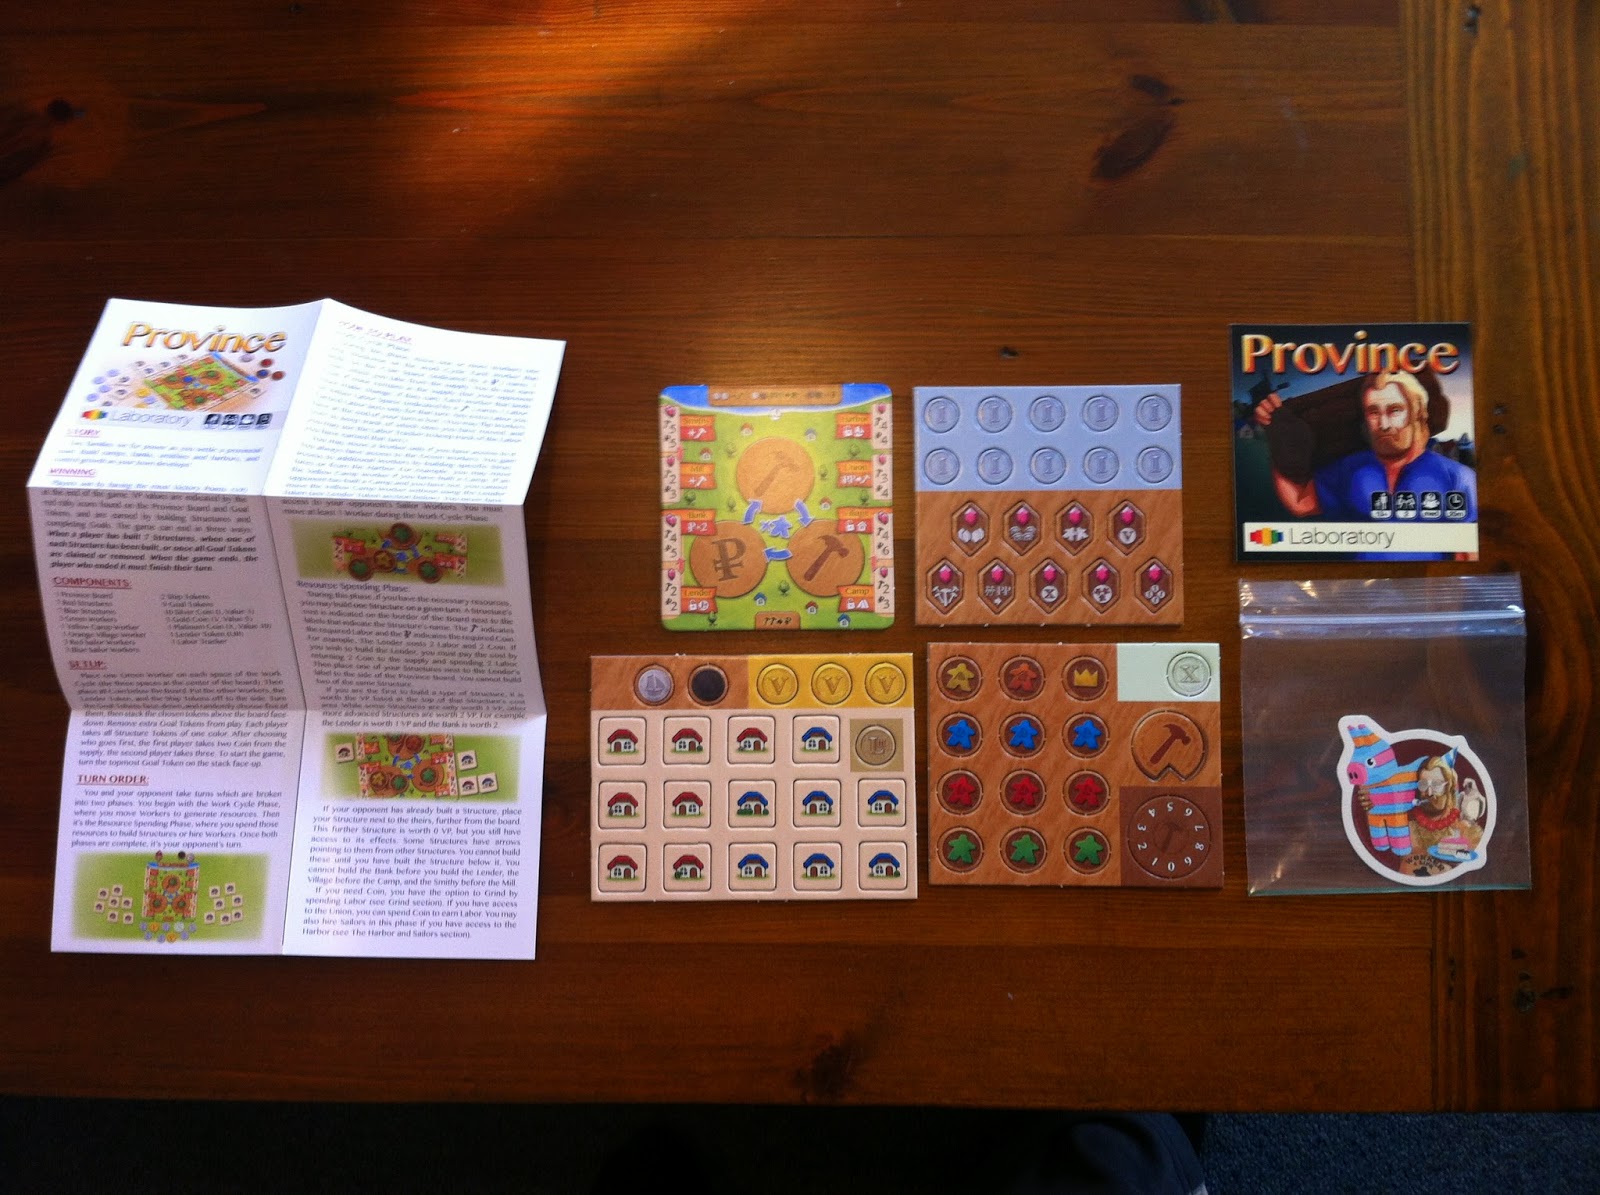
Province, one of the latest microgames to make an appearance on Kickstarter has arrived today in my mailbox.
This all came in a standard letter envelope and is stored in that zip-lock bag. I will be posting a review soon, but in the meantime if anyone has a good storage solution please leave a comment.
Sunday, 6 July 2014
Guide: Clay Caverna Cows!
Finally its time for the step by step guide to polymer clay Cows for Caverna and Agricola.
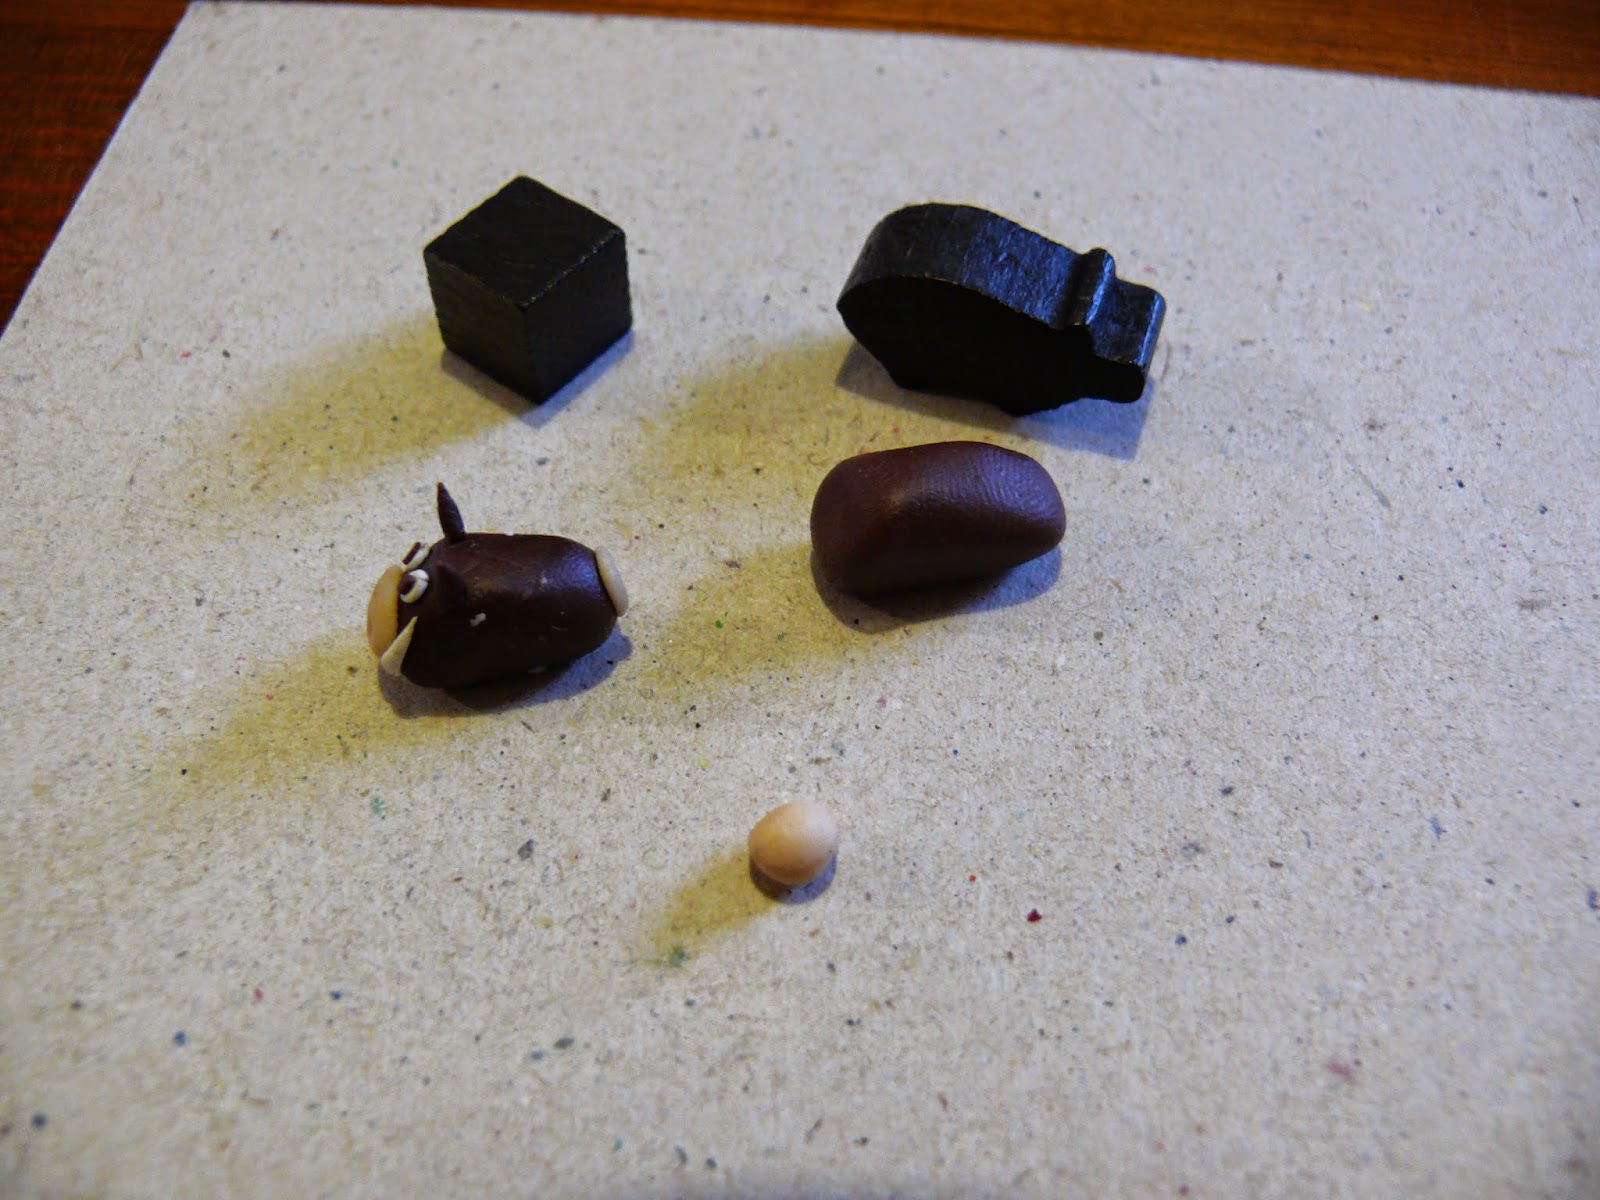
You will only need brown and white clay for these cows but as always feel free to experiment with other colours and styles. As usual I have included a standard cow cube and also the cow animeeple. You can see I have made a large version also, this is my "Start Player" marker for Agricola.
Step 1 (Body): To make the body roll a small ball of white clay.
Step 2 (Spots): Take a few small pieces of brown clay and flatten them, apply them to the sides of the body.
Step 3 (Head): Roll a small ball of brown clay.
Flatten into a blunt wedge shape as seen from the side (see below).
As seen from the front.
Attach to the body.
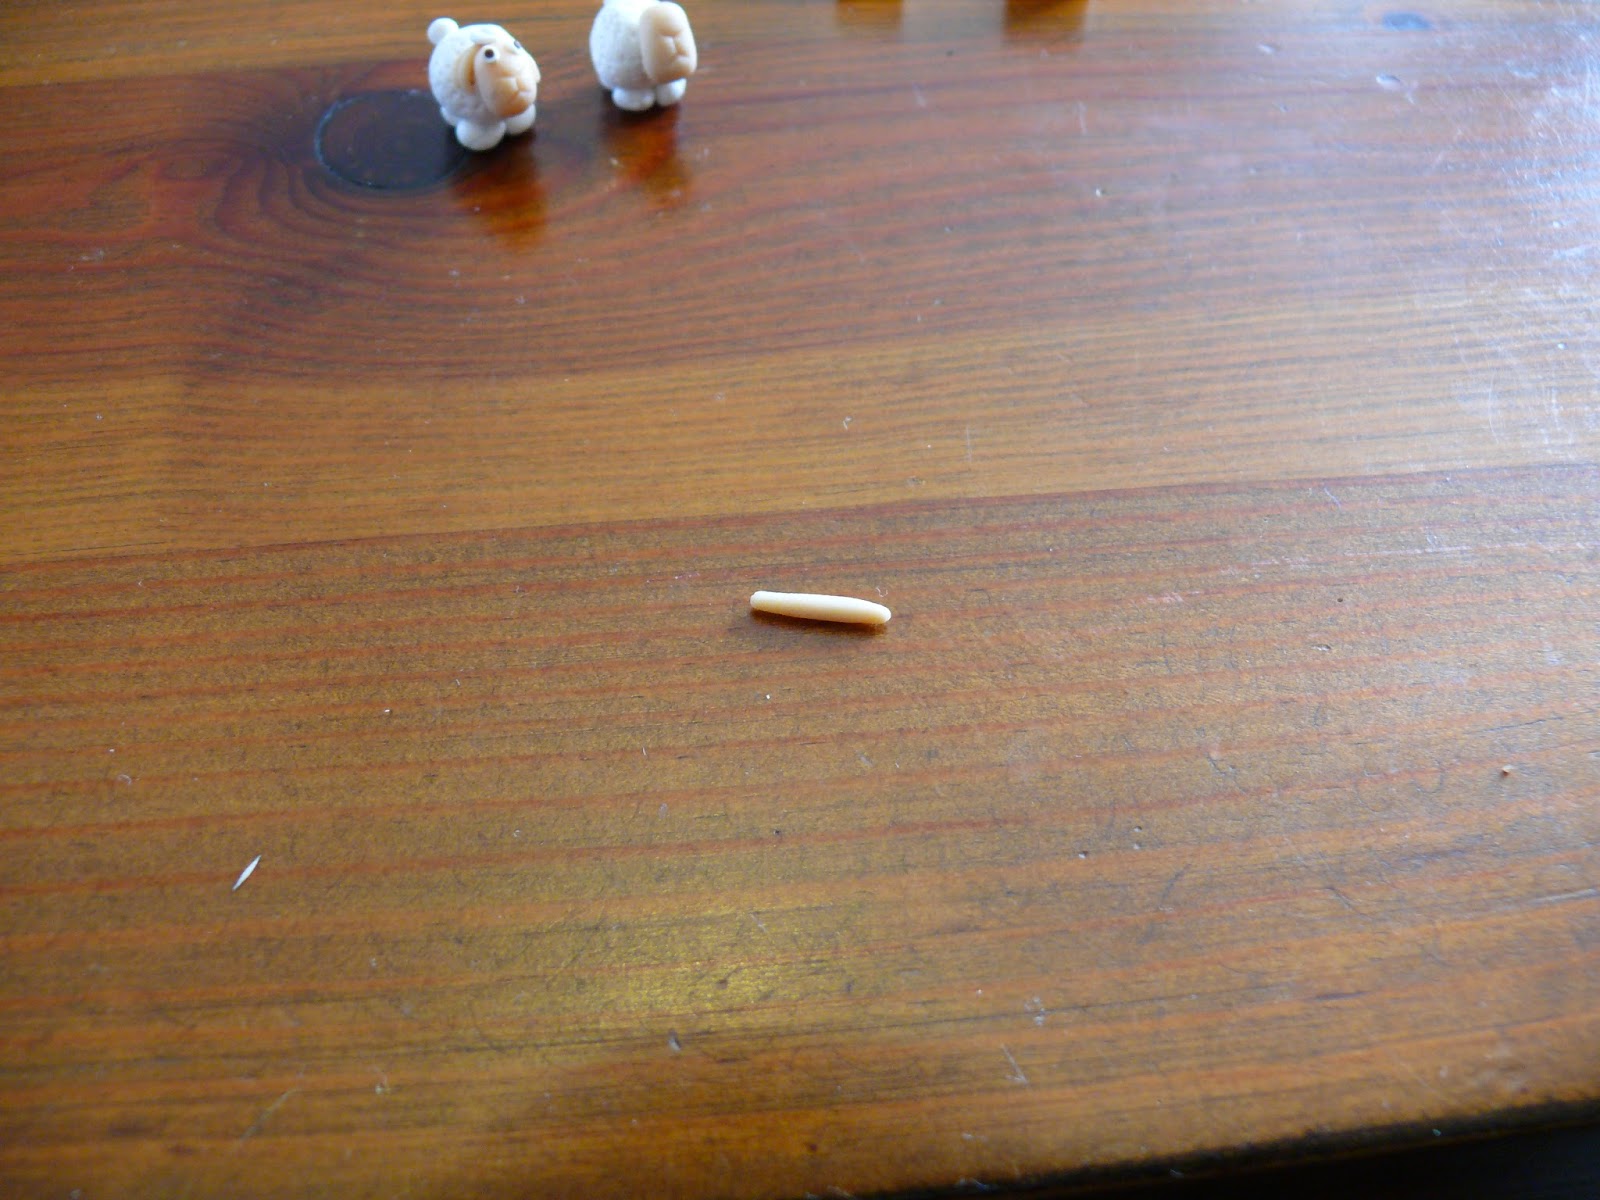
Step 4 (Horns): Take a small piece of white clay and roll it into a thin line.
Place the horns behind the head where it joins the body, bend at the ends.
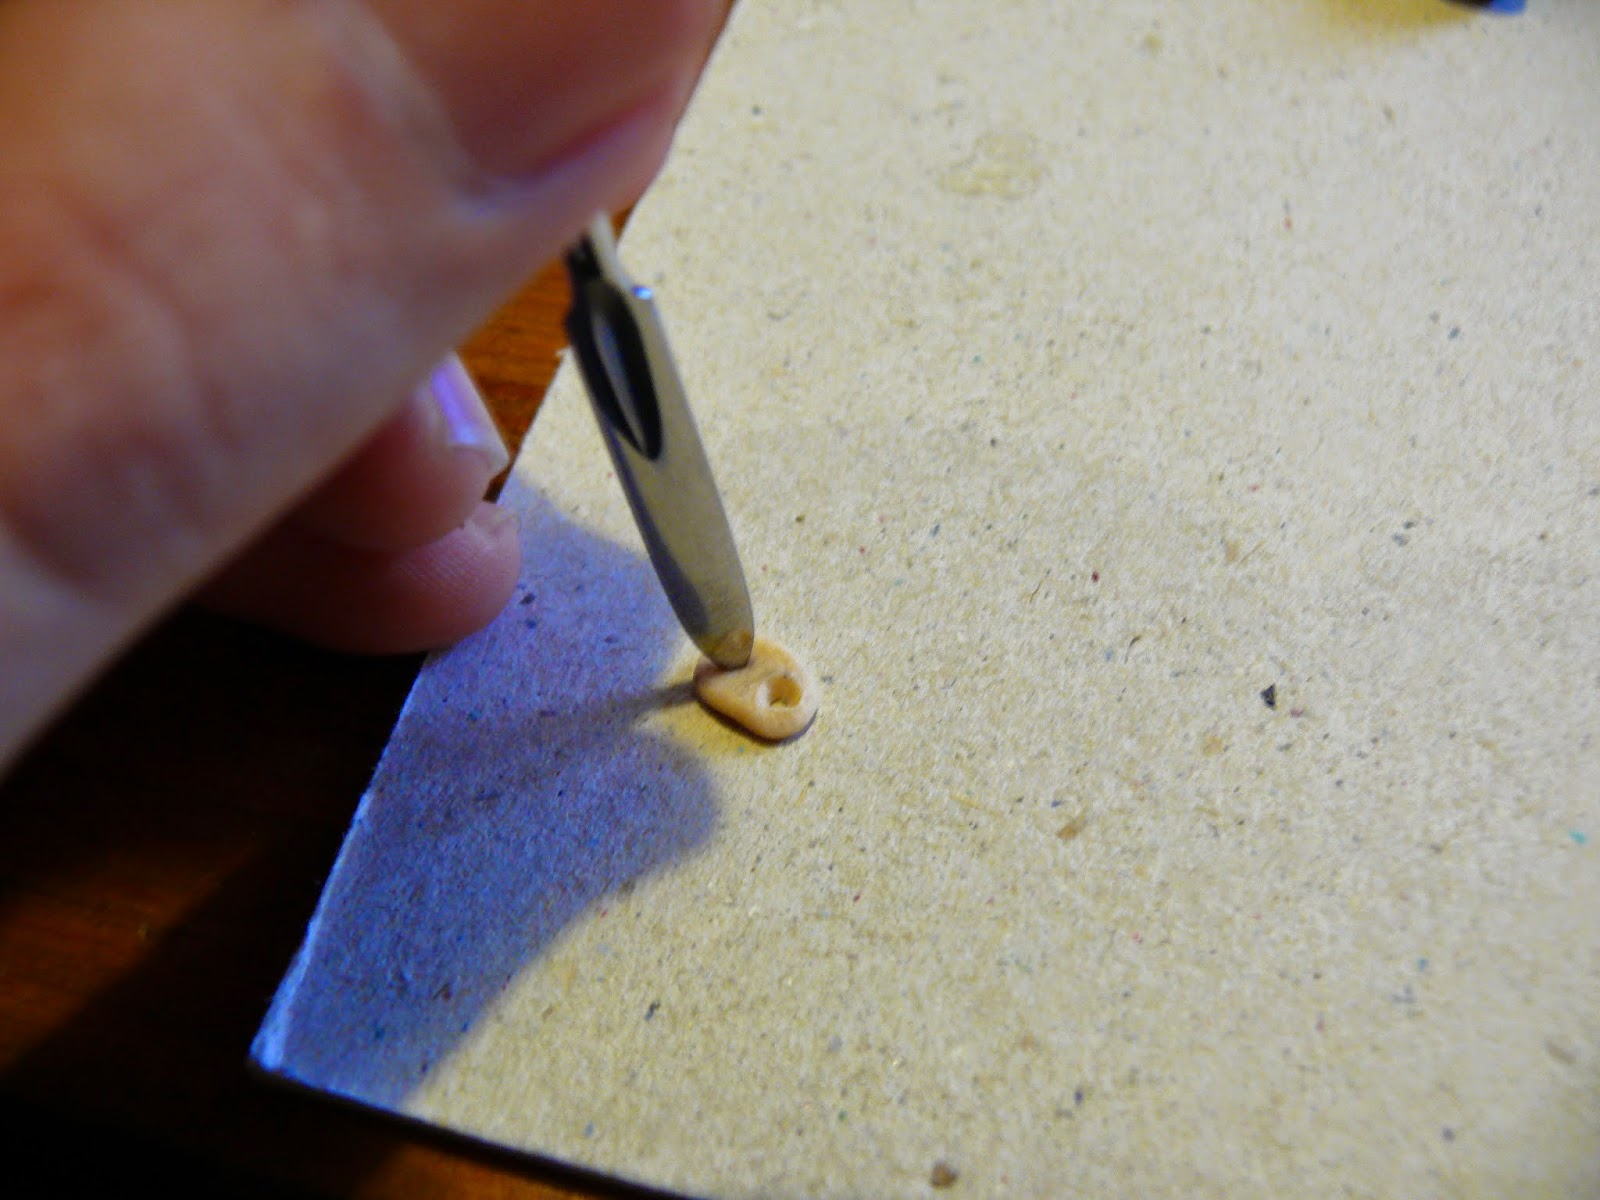
Step 5 (Eyes): Roll two tiny balls of white clay.
Place them on the end of your blunt tool.
Press and flatten them on to the head.
To add the pupils take even smaller balls of brown clay and flatten them into the eyes. You only need a very tiny amount.
Step 6 (Legs): Roll a thicker piece of brown clay.
With your bladed tool cut into four roughly equal pieces.
Pinch each piece to it is a cone shape and place on body.
Bake in the oven and you are finished!
This will be my last animal guide until I figure out a good look for dogs and donkeys.
Sunday, 29 June 2014
Dogs, Dwarves & Donkeys
Saturday, 28 June 2014
Guide: Pigs for Agricola and Caverna
Next up in my guide to fimo / sculpey / du-kit animals are the pigs. These were the first animals I constructed and are probably the easiest to make. You will need a lot of brown polymer clay for these ones but there's no reason you cant have different colours. It's fun to experiment and draw inspiration from many sources.
As always I have included the original Agricola pig cube, the Agricola/Caverna pig animeeple and a finished version for reference. You might also see my prototype Caverna starting player Dwarf, Dog and Donkey in the background!
Step 1: (Body) Take a nice little chunk of brown clay and roll it with your fingers into a roughly cylinder shape. Using your fingers flatten the bottom of the body and taper the top of the body so that it has a sharply rising front (the face) and a gently sloping back.
Flatten the ball so it looks like below.
Take the pointy end of your sculpting tool (or a butter knife etc), press in and rotate to make nice round nostrils.
Press the snout onto the front of your pig. Leave room for the eyes at the top of the face. You might need to go over the holes you have already made to clean them up.
With your bladed tool cut the clay in half.
You should end up with two pieces like this.
Place on to body right behind the snout as below.
Press and flatten onto face.
As always I have included the original Agricola pig cube, the Agricola/Caverna pig animeeple and a finished version for reference. You might also see my prototype Caverna starting player Dwarf, Dog and Donkey in the background!
Step 1: (Body) Take a nice little chunk of brown clay and roll it with your fingers into a roughly cylinder shape. Using your fingers flatten the bottom of the body and taper the top of the body so that it has a sharply rising front (the face) and a gently sloping back.
Body side view
Body lying flat
Step 2 (snout): Roll out a small ball of flesh coloured clay into a slightly cylindrical shape.
Flatten the ball so it looks like below.
Take the pointy end of your sculpting tool (or a butter knife etc), press in and rotate to make nice round nostrils.
Press the snout onto the front of your pig. Leave room for the eyes at the top of the face. You might need to go over the holes you have already made to clean them up.
Step 3 (Tail): Tail is simple, take a small pinch of flesh coloured clay and roll it between your fingers. Place on the body in a spiral shape.
Step 4 (Tusks): Take a pinch of white clay and roll it between your fingers.
With your bladed tool cut the clay in half.
You should end up with two pieces like this.
Place on to body right behind the snout as below.
Step 5 (Eyes): Take a tiny ball of white clay and put it onto the end of your rounded sculpting tool.
Press and flatten onto face.
Step 6 (Ears): Take a small piece of brown clay, roll it between your fingers a little, cut in half and place on head.
Step 7 (Pupils): Take a tiny amount of your brown clay and roll it into a ball. Put it on the end of your rounded sculpting tool and press into the eyes.
Finished!
Note: If you are having trouble keeping the bottom of your pigs flat, use the flat edge of your sculpting tool and roll it along the bottom to flatten it out.
Next week: Cows!
Saturday, 21 June 2014
Guide: Agricola Sheep
As promised here is my guide to making Agricola Sheep (these work in Caverna too). I only made one in this guide but if you want to be efficient you can get a production line going and do multiples at a time. Mix up the colours for black sheep.
Step 1: Take your white clay and roll it into small ball, avoid the temptation to make the ball too large. As a guide I will include the original Agricola sheep cube and sheep animeeple.
Step 2: To form the feet, make a small line of white clay and with your blade cut it into 4 roughly equal sized parts, roll each of these into a small ball.
Stick each of these balls on the bottom of your body and slightly flatten them to form the feet.
Step 3: To create the wooly effect take your pointy tool and jab a lot of little holes lightly into the body.
Step 4: Take your flesh coloured and roll it into a small elongated ball (tic-tac) shape. Add a tail by rolling another smaller white ball and sticking it on the rump.
Step 5: Place the head on the body and then using the tip of your blade lightly press in the snout design.
Step 6: To make the ears get another small piece of flesh coloured clay and make a small line, cut this line in half and using the tip of your blade press lightly into each half.
Step 7: Stick each ear on the head roughly where it joins the body.
Step 8: Take a very small white line of clay and roll it into a small spiral. Stick this right between the ears on the back of the head.
Step 9: To create the eyes, roll two tiny balls (smaller than you think) and place them on the head with the rounded nub sculpting tool.
Step 10: To create the pupils, repeat the same procedure as the eyes but use only the tiniest dot of black.
Sheep complete! To add variety I gave some brown horns, a brown body or brown face. Repeat 20 times, bake in the oven to set and you have a nice collection of sheep for Agricola and Caverna)!
Comming soon: Guide to making cows!
Subscribe to:
Comments (Atom)


