
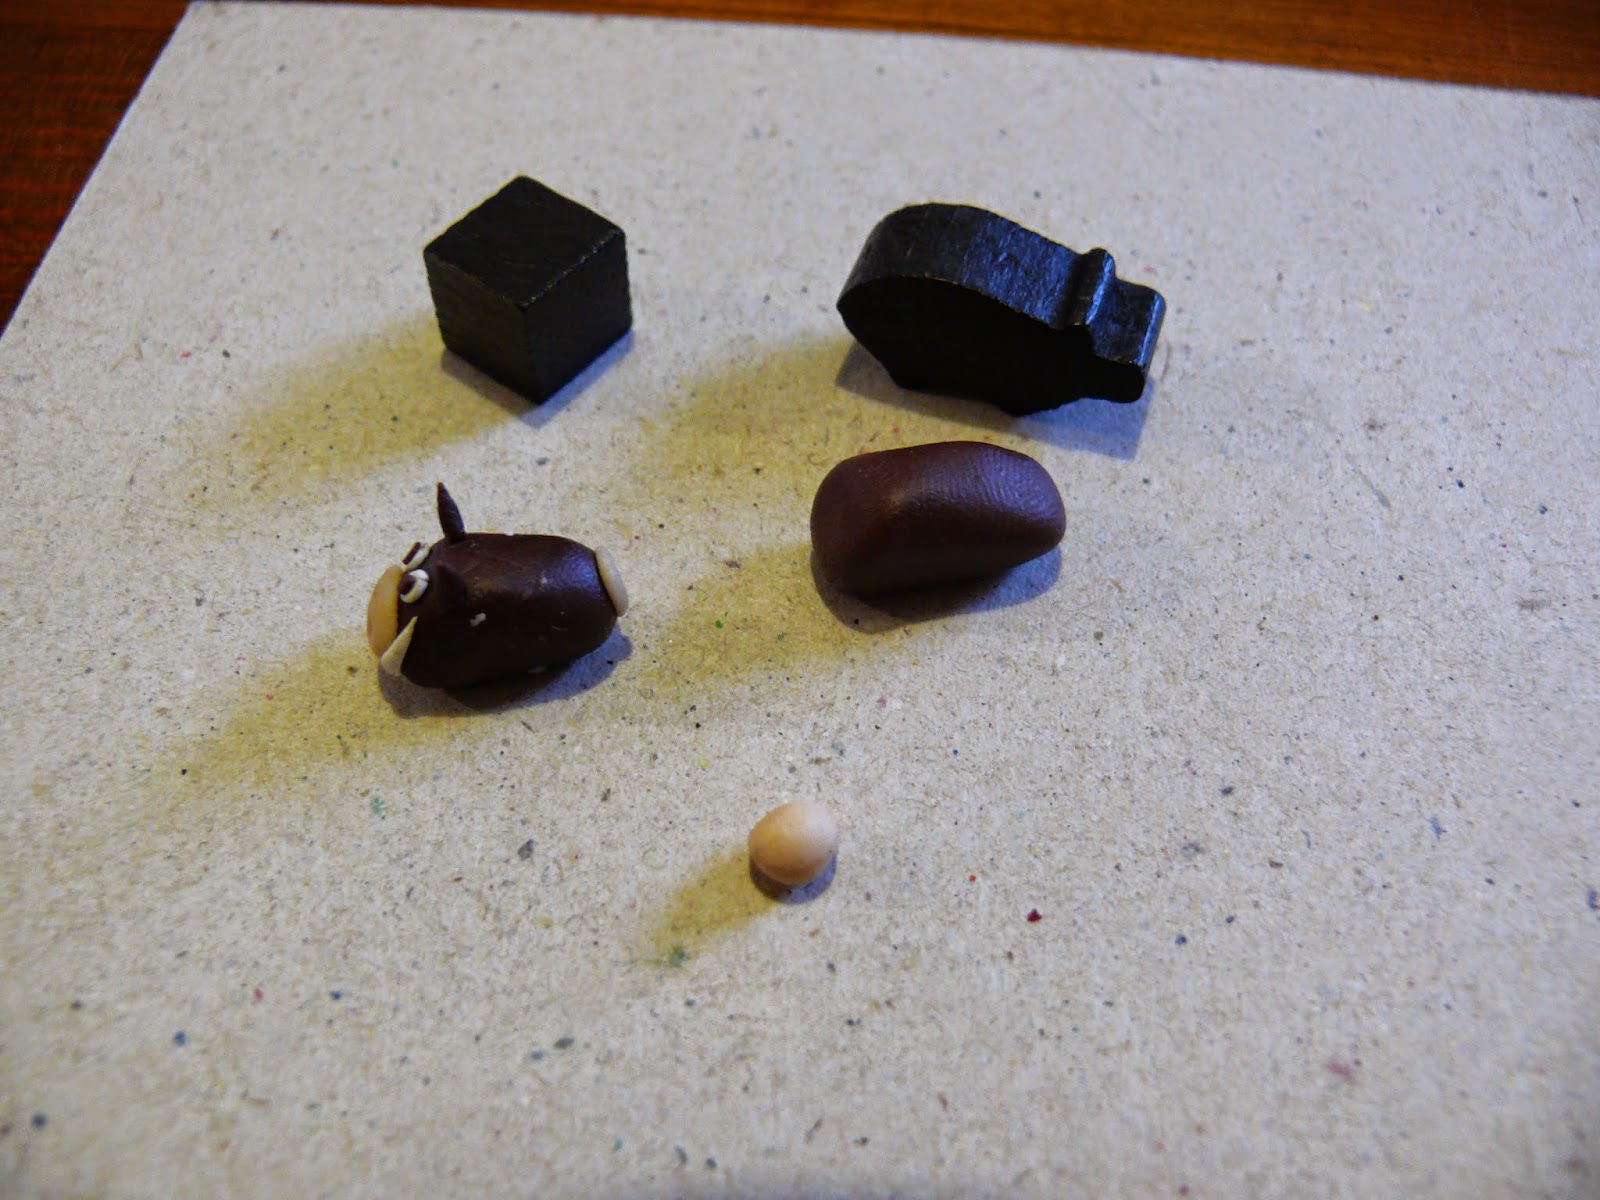
As always I have included the original Agricola pig cube, the Agricola/Caverna pig animeeple and a finished version for reference. You might also see my prototype Caverna starting player Dwarf, Dog and Donkey in the background!
Step 1: (Body) Take a nice little chunk of brown clay and roll it with your fingers into a roughly cylinder shape. Using your fingers flatten the bottom of the body and taper the top of the body so that it has a sharply rising front (the face) and a gently sloping back.

Body side view

Body lying flat
Step 2 (snout): Roll out a small ball of flesh coloured clay into a slightly cylindrical shape.
Flatten the ball so it looks like below.

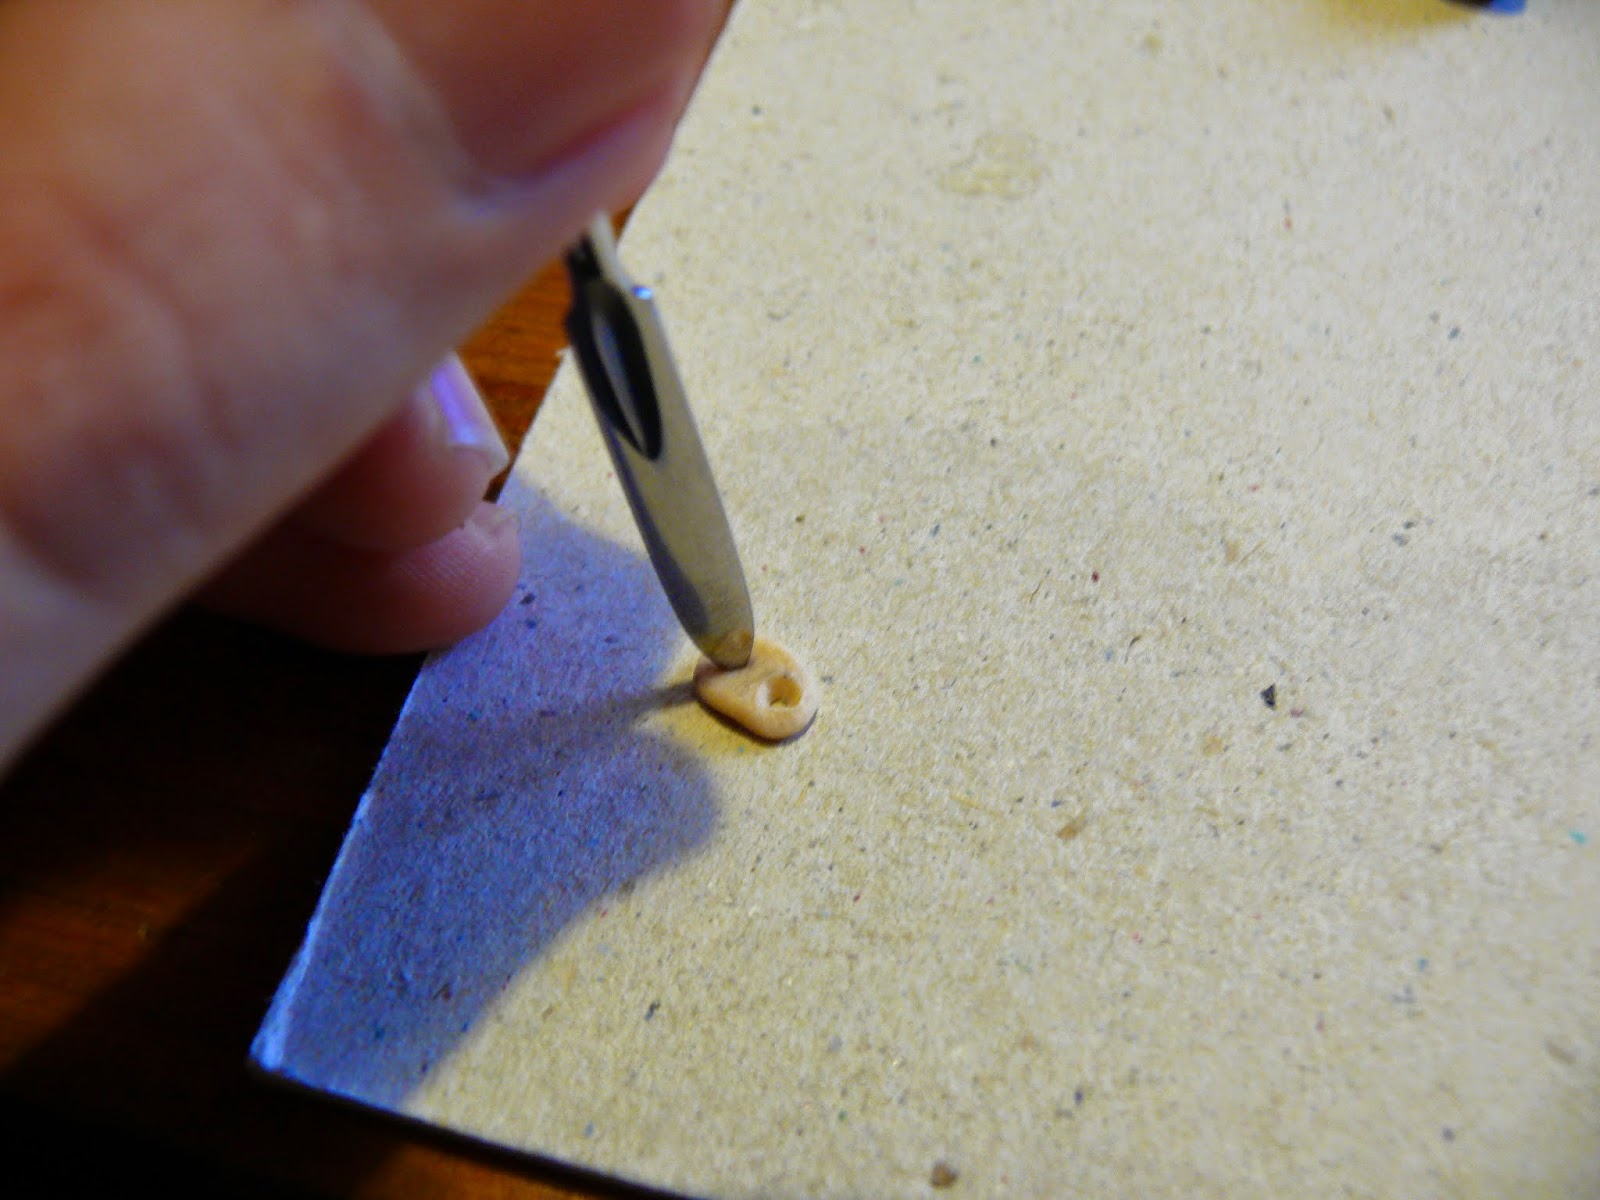
Take the pointy end of your sculpting tool (or a butter knife etc), press in and rotate to make nice round nostrils.

Press the snout onto the front of your pig. Leave room for the eyes at the top of the face. You might need to go over the holes you have already made to clean them up.

Step 3 (Tail): Tail is simple, take a small pinch of flesh coloured clay and roll it between your fingers. Place on the body in a spiral shape.


Step 4 (Tusks): Take a pinch of white clay and roll it between your fingers.

With your bladed tool cut the clay in half.

You should end up with two pieces like this.

Place on to body right behind the snout as below.

Step 5 (Eyes): Take a tiny ball of white clay and put it onto the end of your rounded sculpting tool.

Press and flatten onto face.

Step 6 (Ears): Take a small piece of brown clay, roll it between your fingers a little, cut in half and place on head.


Step 7 (Pupils): Take a tiny amount of your brown clay and roll it into a ball. Put it on the end of your rounded sculpting tool and press into the eyes.


Finished!

Note: If you are having trouble keeping the bottom of your pigs flat, use the flat edge of your sculpting tool and roll it along the bottom to flatten it out.

Next week: Cows!
No comments:
Post a Comment